SpriteVFX
Build around the contact frame
Start with one weapon motion and one impact. Preview the trail separately, then place the spark at the collision point in your engine. Let the stronger impact be brief so the recovery pose remains visible. A ground slam needs a different anchor from a sword strike; compare the exported origin before sharing placement code.
Scale ordinary and exceptional hits differently
Use a small effect for routine contact and a distinct variation for a parry, heavy landing or critical hit. You can coordinate their palettes in Sprite Maker, but do not assume that applying the same ramp equalizes their perceived brightness. Test repeated attacks with several characters on screen before approving the set.
Choose a readable hit vocabulary
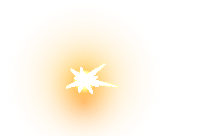
Use blunt-hit for a heavy contact, bullet-impact for a small hard strike, and hit-flash when the target needs a clear damage cue. Hit-spark and crit-hit offer sharper accents. Shield-block and parry should remain recognizably different from a successful hit, even after you give them one project palette.
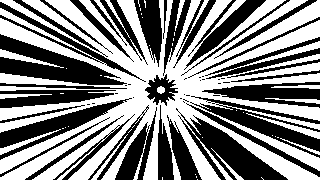
Impact-frame is a brief full-frame emphasis. Test it against your camera and HUD before adding it to every attack. The eight examples are alternatives for different contacts, rather than eight layers to play together.
Put the contact frame on the attack
Start with hit-spark in Sprite Sheet Generator and export at its native frame rate. Import the PNG grid, play the animation once at the target contact point, and remove it on completion. Compare it with blunt-hit on the same attack before choosing the final cue.
In Sprite Maker, try one cold palette for blocked hits and a warm palette for damage. Preview the first few frames over the actual game background. Keep the origin aligned to the contact point when mirroring an attack.